Tutorial How To
Using the Clipping Mask
Insert images into shapes with free online editor Photopea
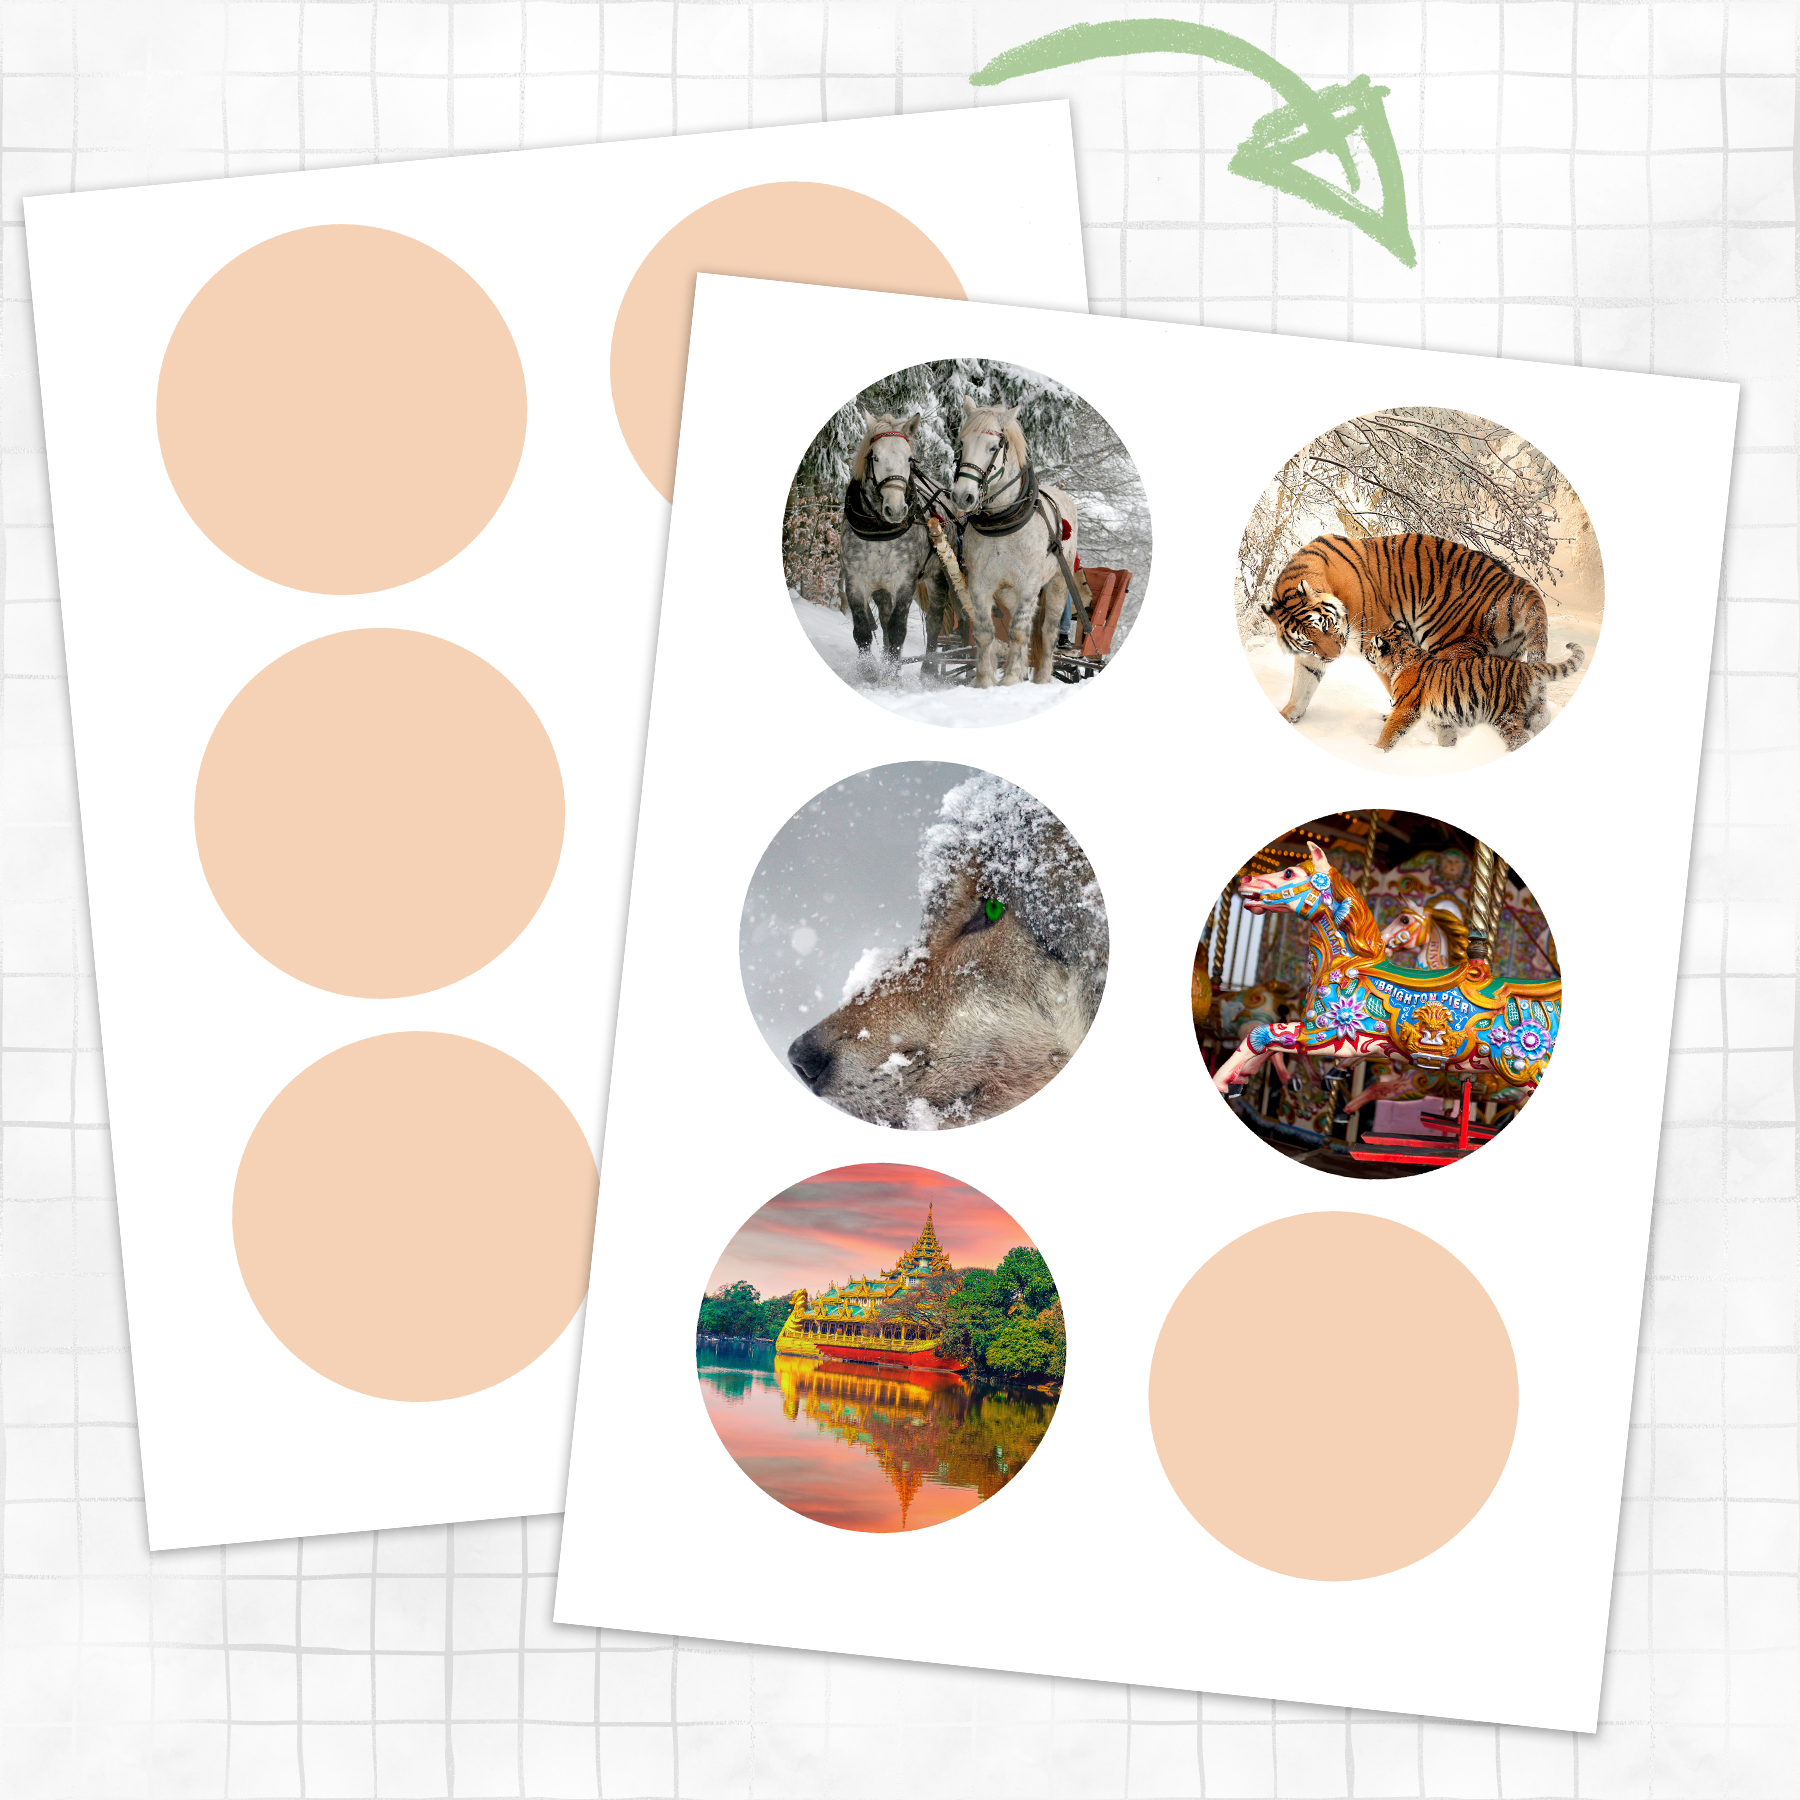
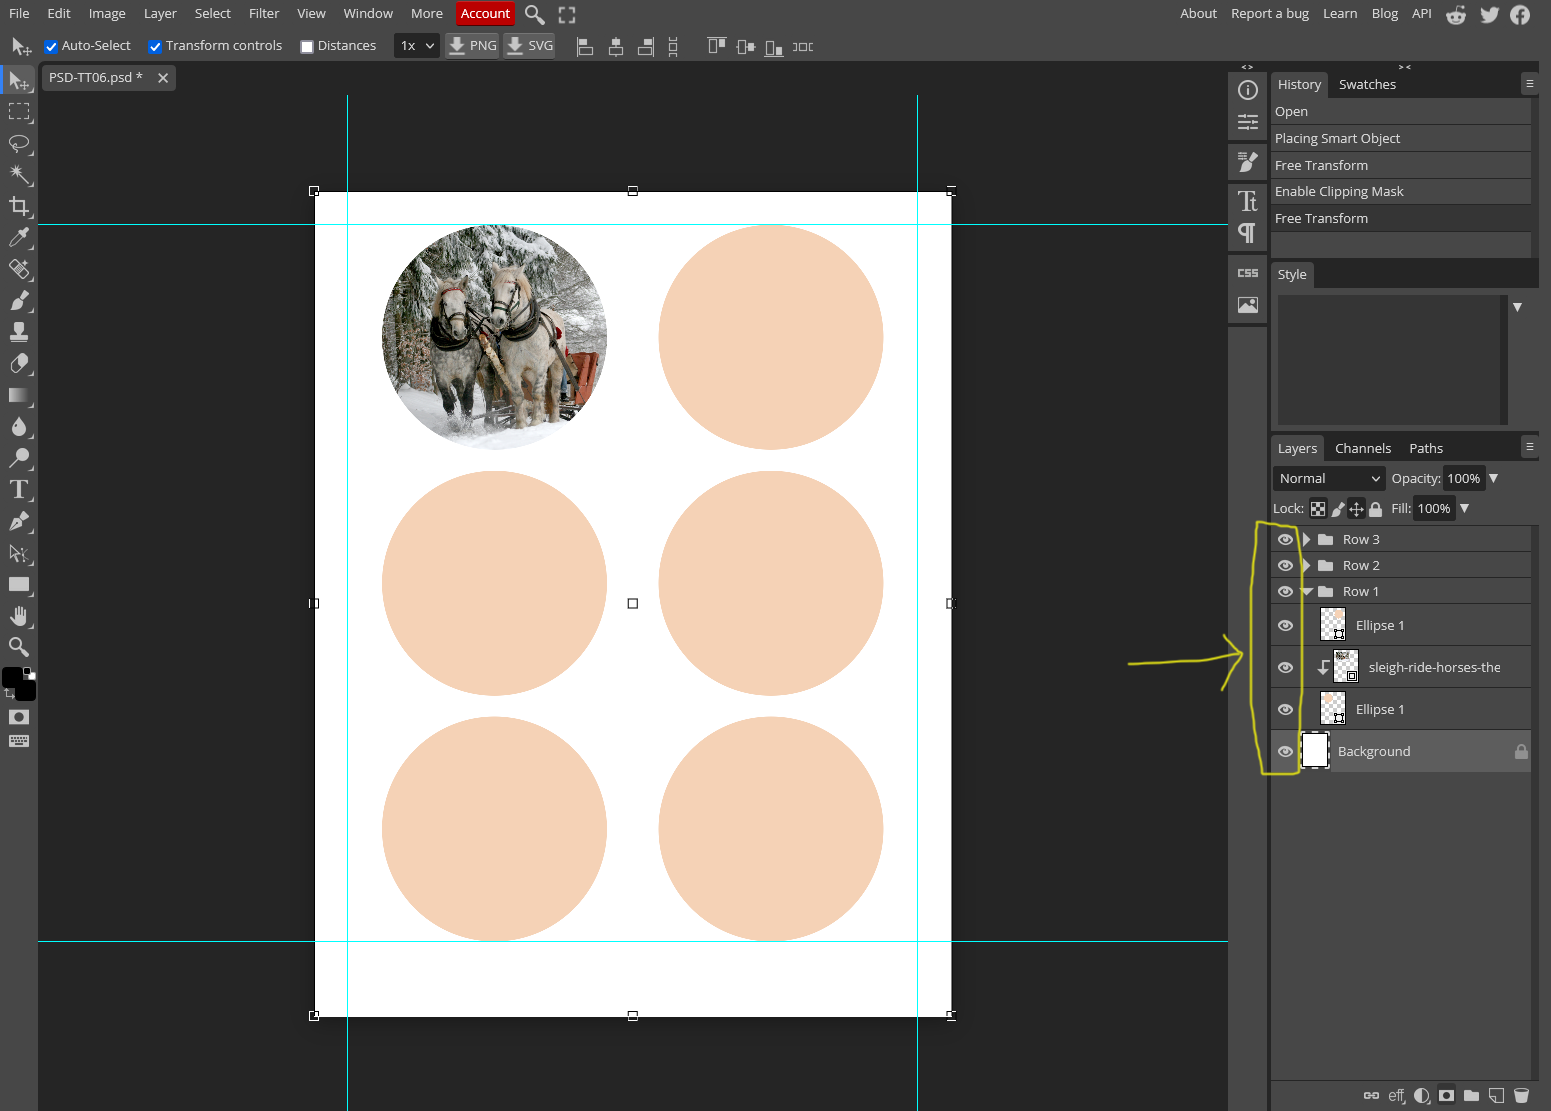
The clipping mask is one of the most useful tools you'll have when working with templates like these. And once you know how to do it, it is the easiest thing and is super quick to apply.
As you can see from my example image, what we're doing is inserting an image into (or on to) the template shapes.
It's probably one of the biggest frustrations new designers make when faced with "here's a shape' and 'here's an image' - how do you put the two together??
Well, I assure you, it's super easy!
We're going to do this in the free online editor Photopea, but these instructions translate well over to Photoshop CS or PS Elements as well.
To begin, make sure you have your template and at least one image ready to use, then just follow along.
STEP 1:
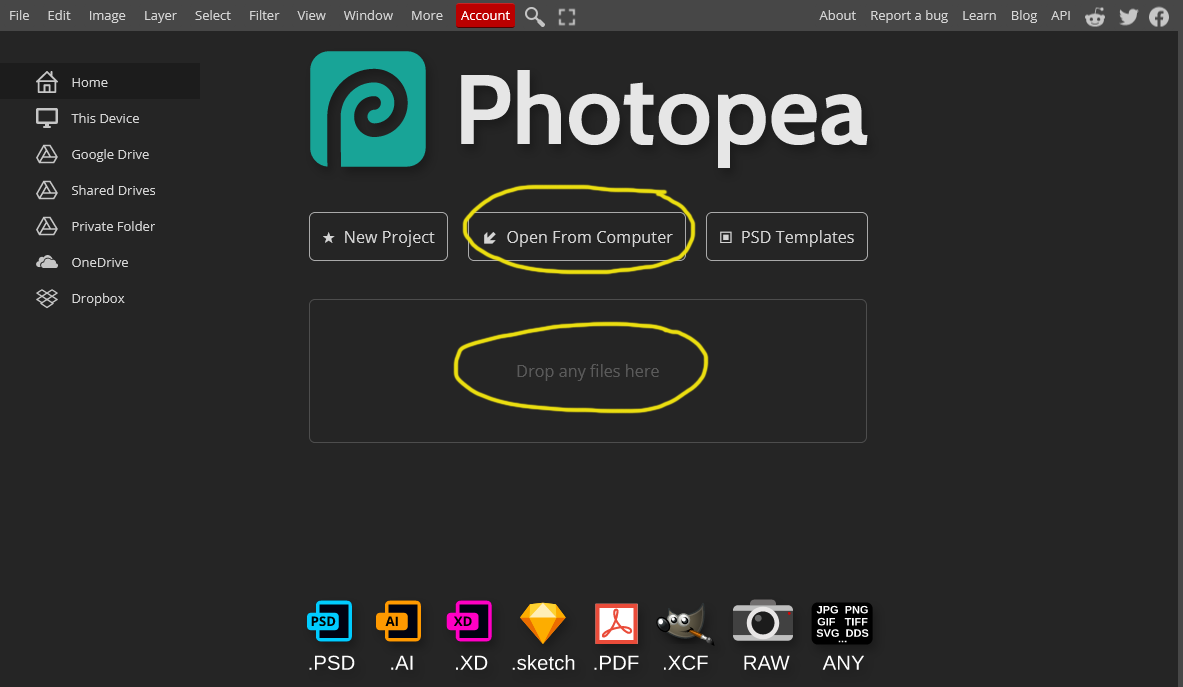
To get started navigate to Photopea.
Either click "open from computer" to locate and load your PSD template file, or drag and drop the file onto the center of the screen. We'll open the image you want to insert in the steps below.
Your screen will appear like in the example below with the editing canvas open and ready to use.
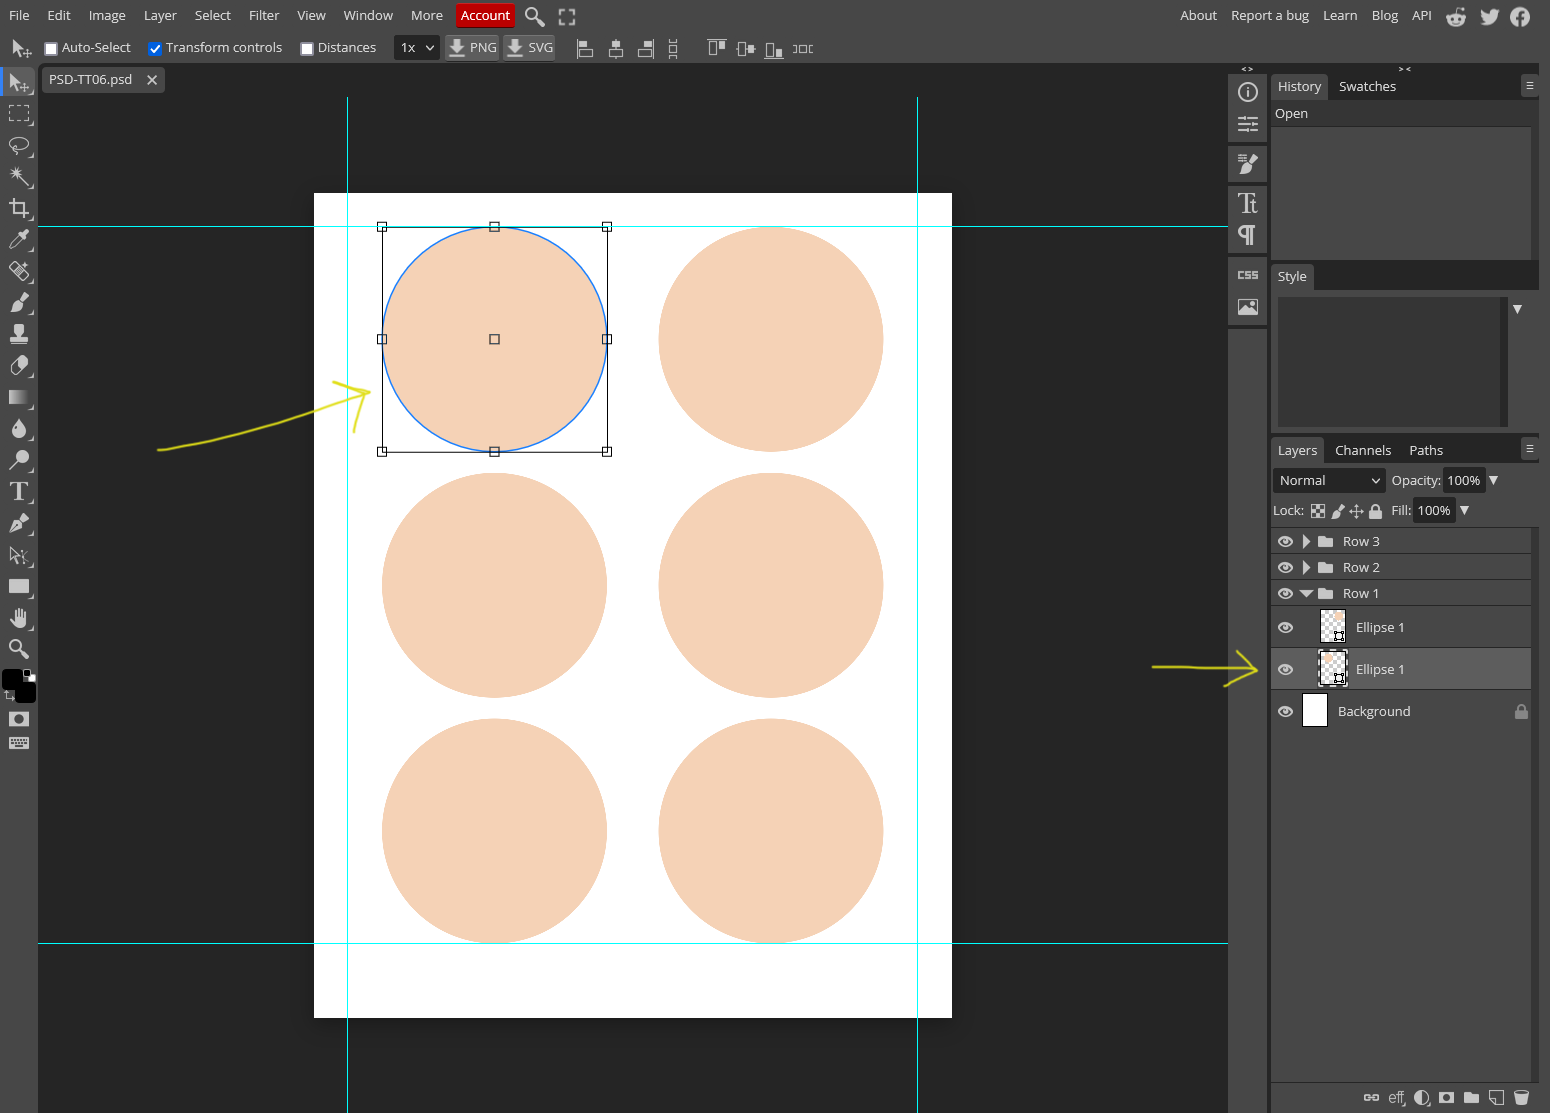
Make sure that you have selected the right file format by ensuring you have multiple layers in the lower right layers panel, as marked on the example below.
STEP 2:
Go to the layers panel in the lower right of your screen and open a folder (if there is one) by clicking on the little arrow next to the folder icon.
In this template example there are 6 circles, so there will be six separate shape layers, which are organized here by row into 3 folders.
Click once on a shape layer in the layers panel to select it and notice what happens on the canvas. A blue line will appear on that shape indicating it has been selected.
Choose the layer you want to insert an image into by clicking that layer to select it now as in the example.
STEP 3:
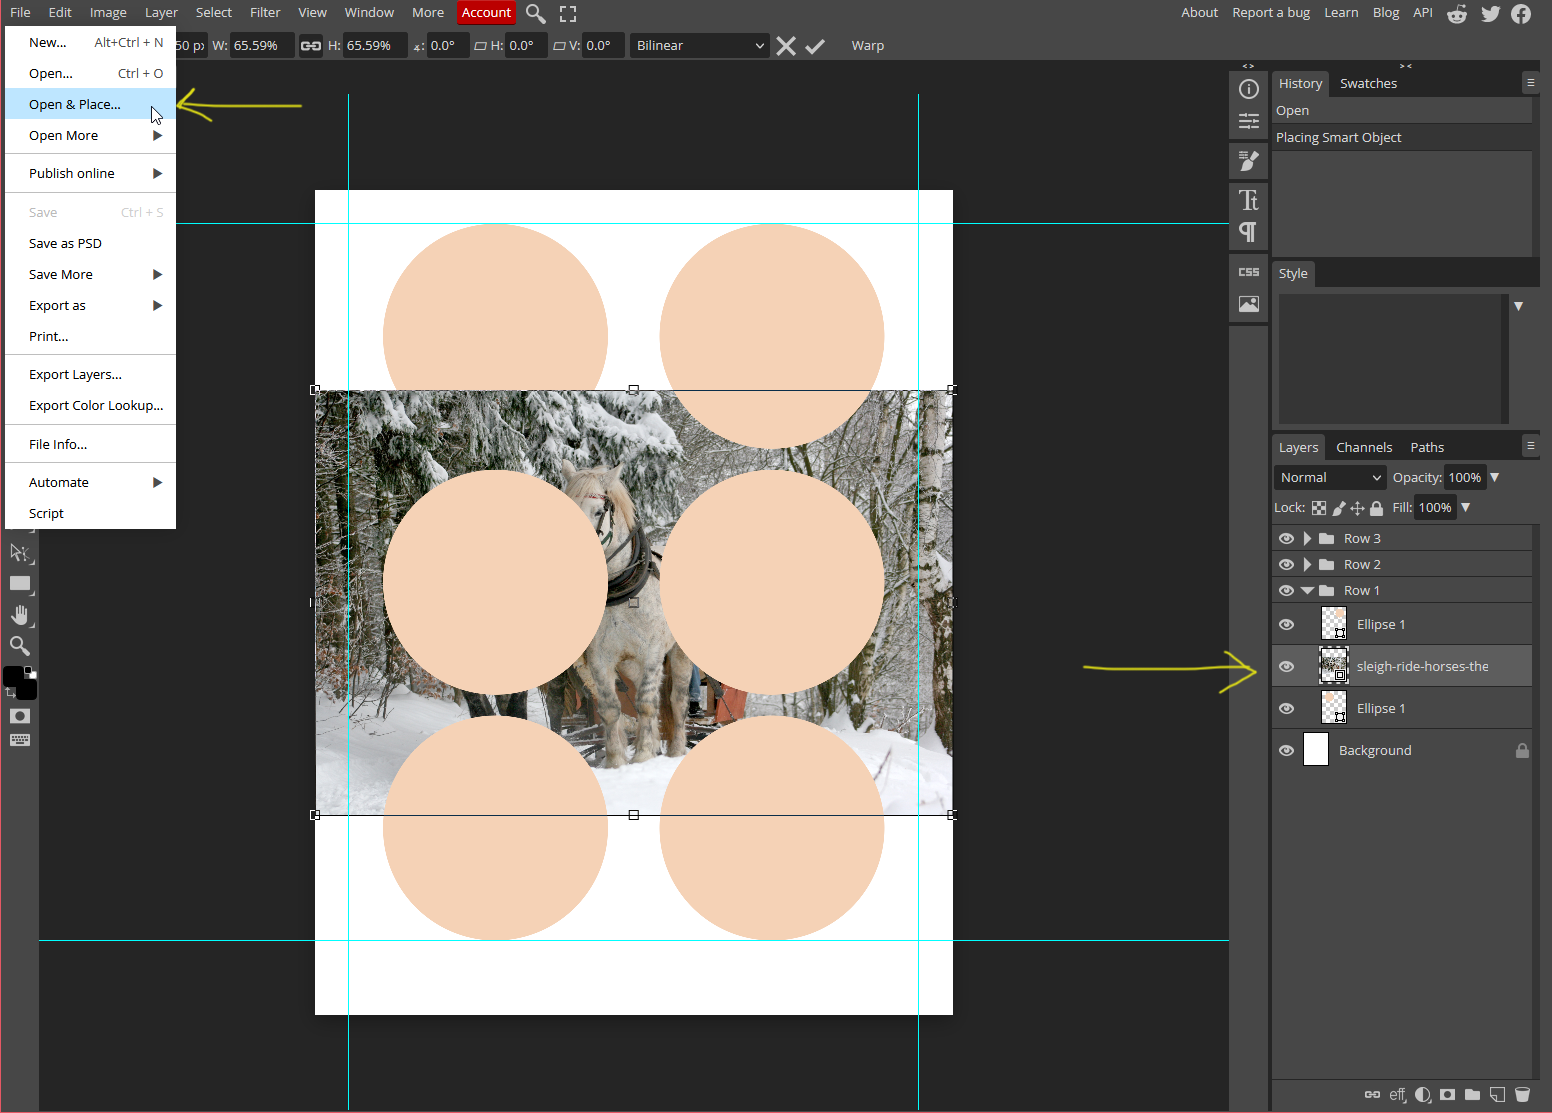
Go the top menu bar and Click File>Open and Place. Find and select the image file you want to insert from wherever it is saved on your computer.
Click ok and the image will be inserted into the template file as a new layer right above the shape layer that you selected in the layers panel.
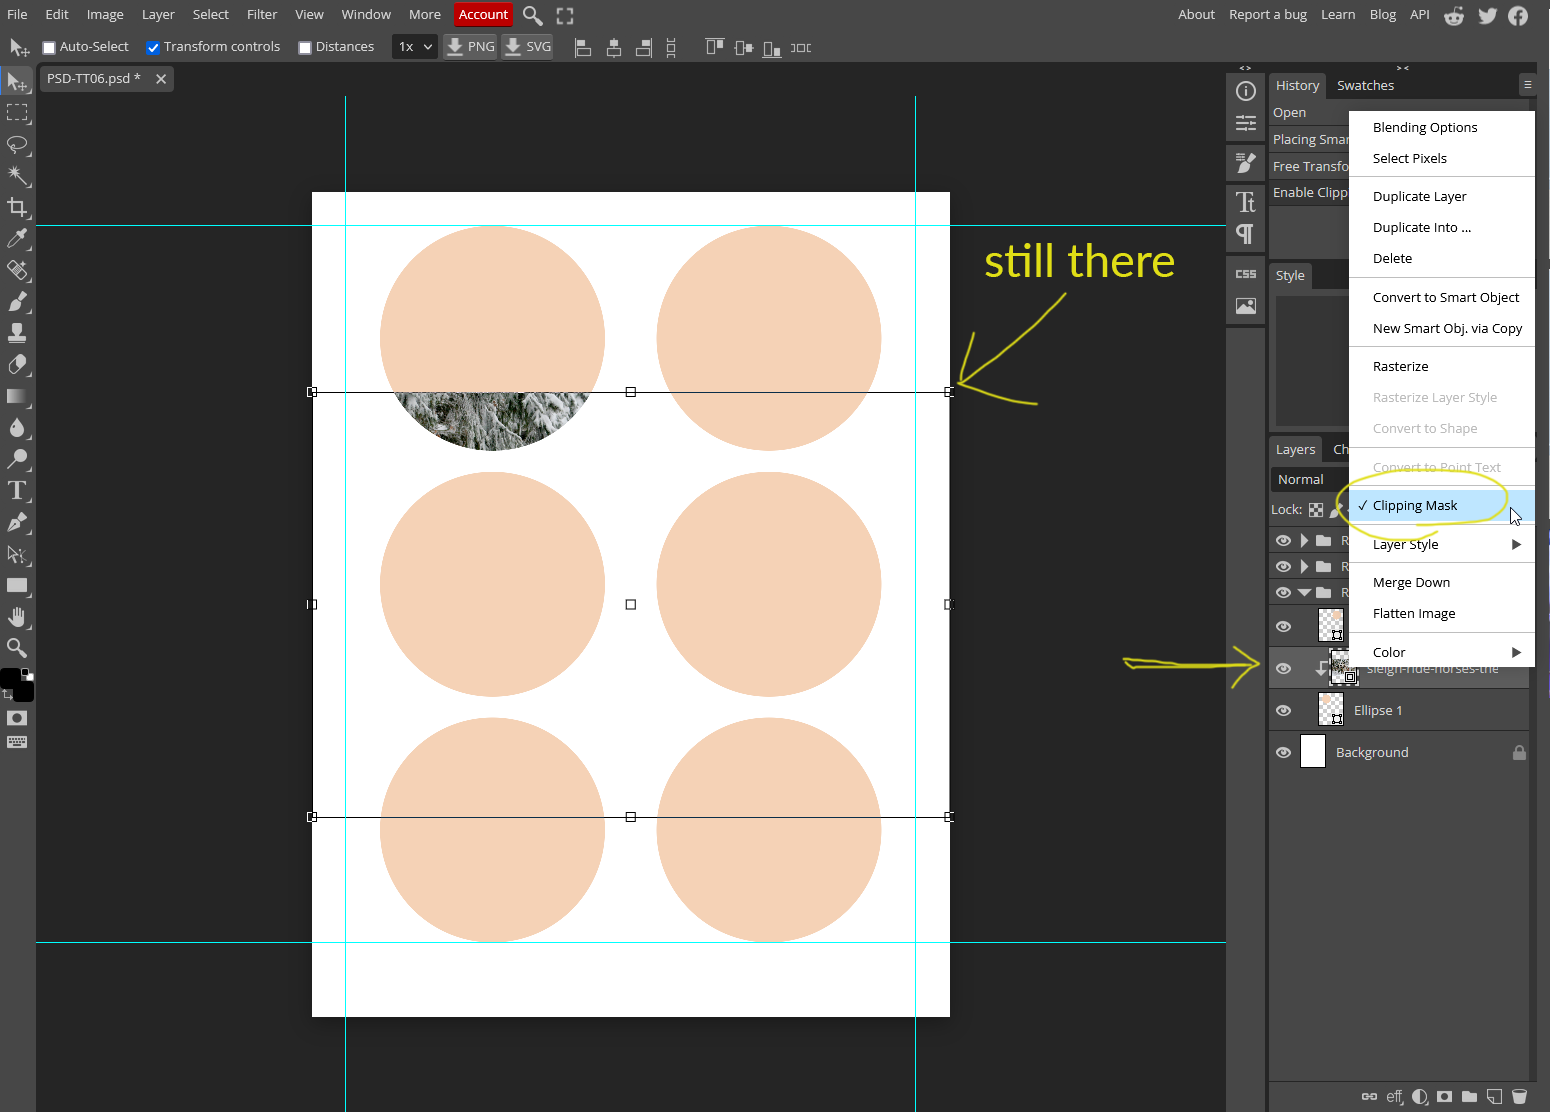
You can see it now in the layers panel. Right click on that layer name in the layers panel to open a popup menu box. In that menu you'll see the option 'Clipping Mask'. Click this and the magic happens.
If the image was not directly over top of the shape it might appear to have disappeared. But you'll still see the image box and controls nodes.
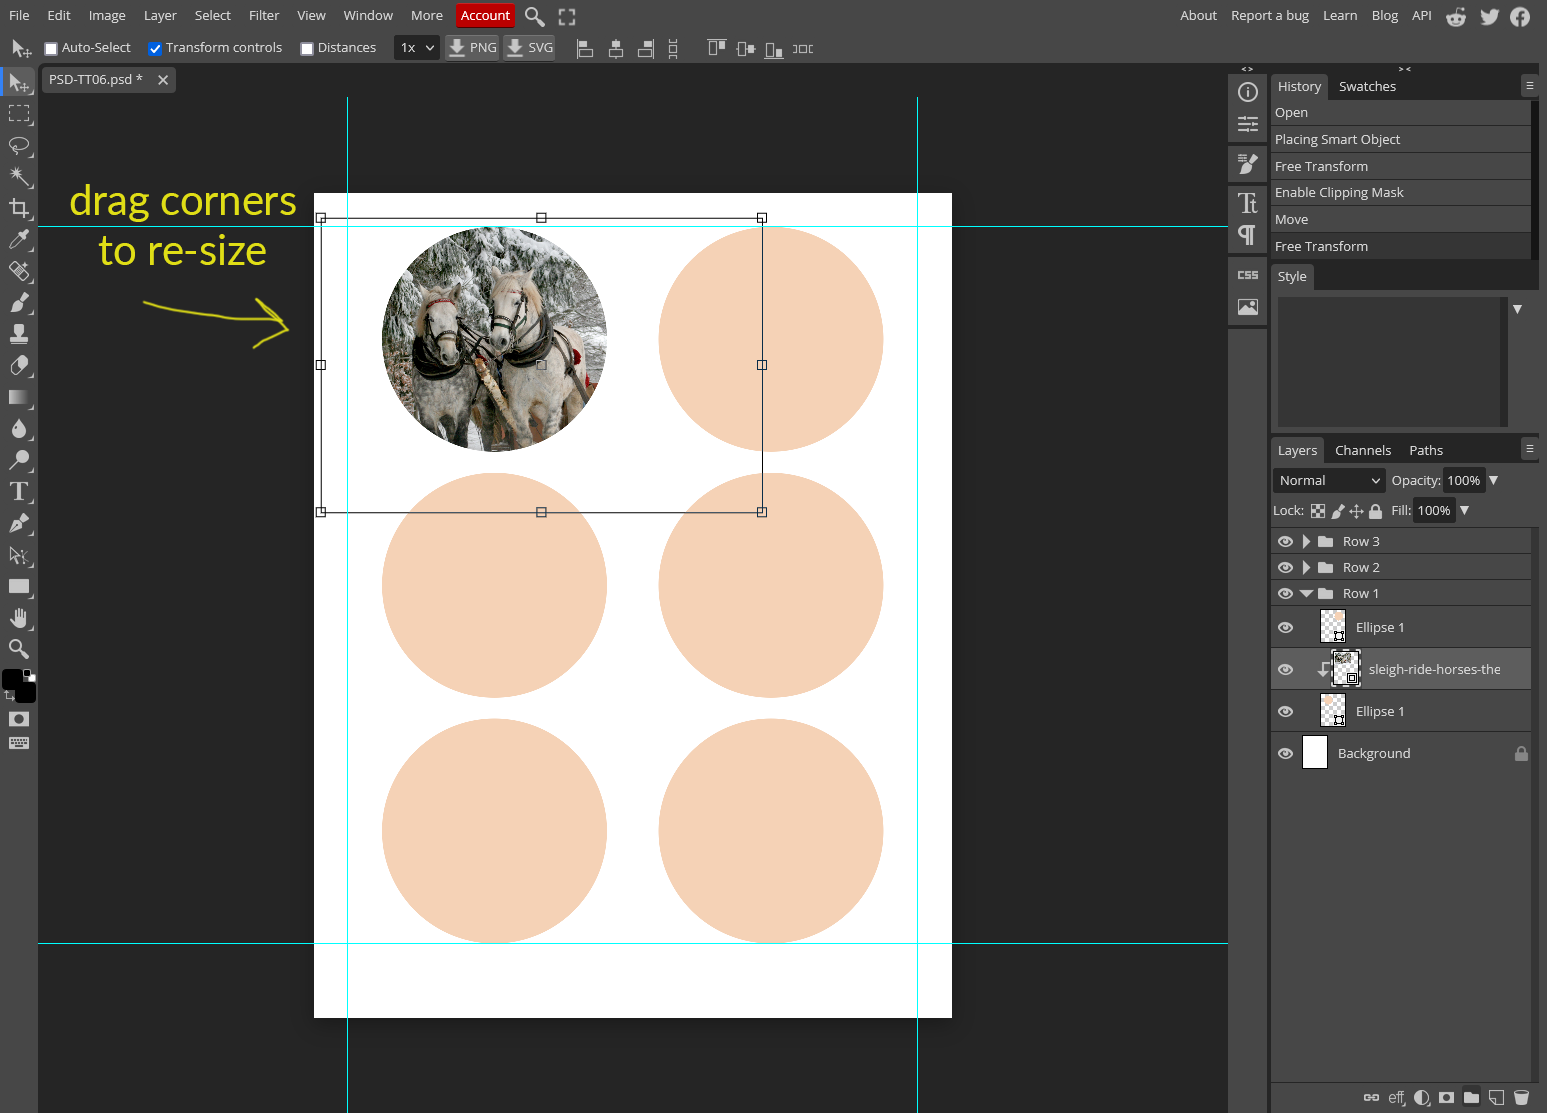
Use your mouse to drag the image into place and re-size as required, just like the example below.
STEP 4:
All that's left to do is to fine tune the size and placement.
The repeat for each additional shape/image.
TIP: you can turn layers off if you don't need them by clicking the eye icon in the layers panel for any shape not required, as well as the background if you require transparency when saving as a PNG.
To save your newly edited template go to the top menu bar and in the top left corner click File>Save as PSD or File>Export As and choose whichever file format you need.
SVG is not compatible with the type of edits we've made here today, so while it will save, it won't work properly as a true SVG.
JPG or PDF will likely be the most suitable options.
